So I've worked a little more on my picture. I like the new colourful background, but I'm also missing the loss of the white paper. I feel like I've gone overboard with colour again, as I feared I would!
It's not finished, but I may give it a few days to think about my next move.
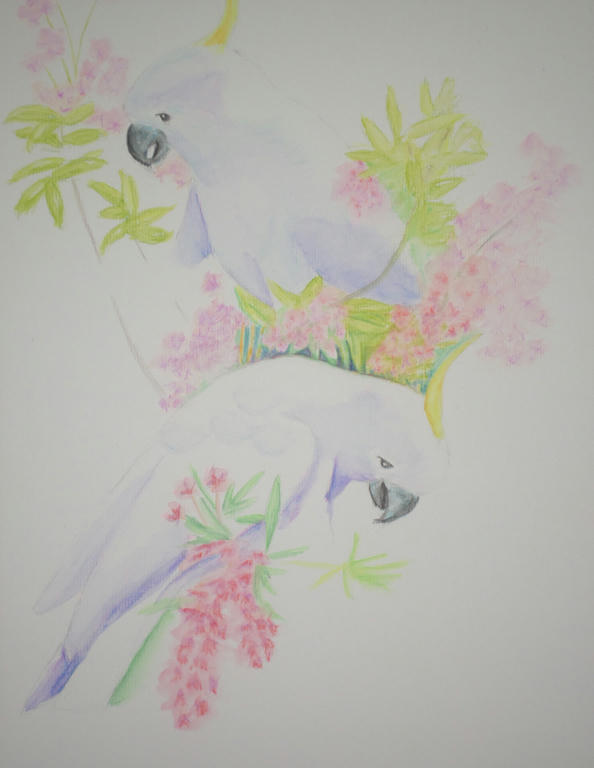
After finding a wonderful picture online, of a bunch of cockatoos feeding, I decided to select only two birds from opposite sides of the tree to represent. While I love the cockatoos, it was mostly for the NSW Christmas bush in bloom I wanted to capture...
Forgive the darkness of the photo. As the cockatoos aren't surrounded by foliage yet, it's difficult to see their definition. I'm using watercolour pencil and its still a work in progress.
I like the sparsity of this portrait so far, having all that white space, and yet I know it needs a lot more colour added too. I'm experimenting with colour, choosing lavender for the shading of the cockatoos, and trying to incorporate magenta as much as possible, in both the flowers and shading of the foliage (to come).
I'm worried I'll stuff it up, so I'm going as gently with the colour application as possible. Any new work is approached with much thought, because I could easily drown it with flat colour with little ability to lift it - as I learned with my bush creek landscape portrait.
Every day is not a masterpiece day, especially when it comes to experimenting! I've been pushing myself outside my comfort zone lately, looking for different ways to use my mediums. I had purchased a Derwent spritzer bottle, which I have seen used with watercolour previously.
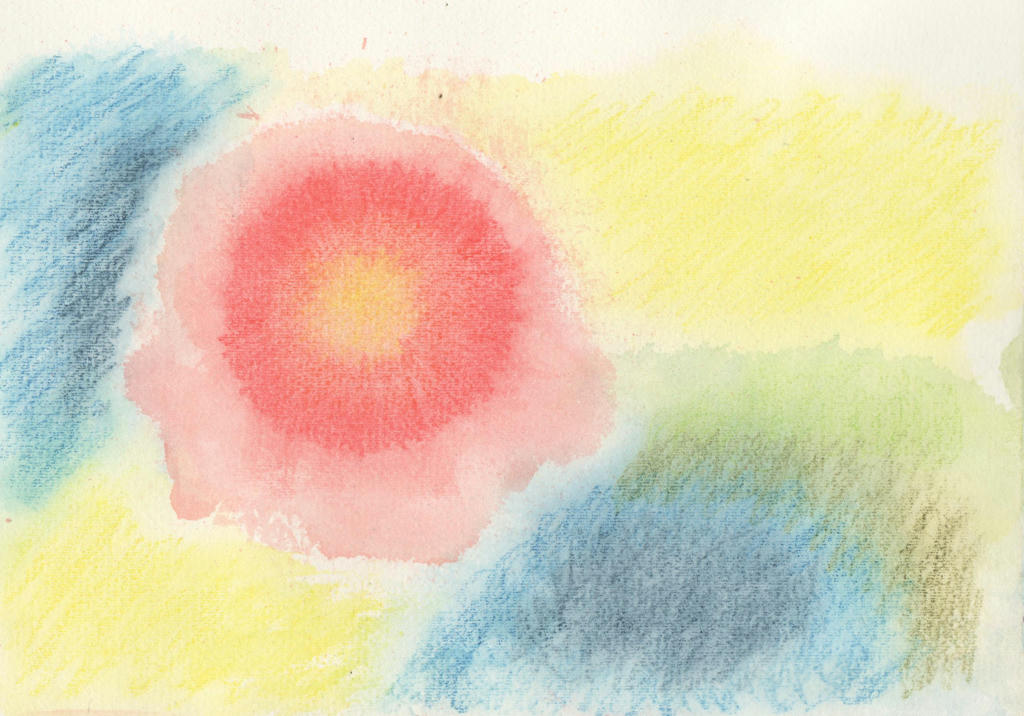
I tried it with my Inktense pencils to see what effects I could create.
I started by drawing a disk with multiple colours (yellow, orange and red) then once I spritzed the ink with water, I moved the paper around to create a random flower shape. I did the background colours after it dried, in a similar fashion. I thought the random flower shape, looked a little like a hibiscus, but wanted to do a more dramatic flower instead.
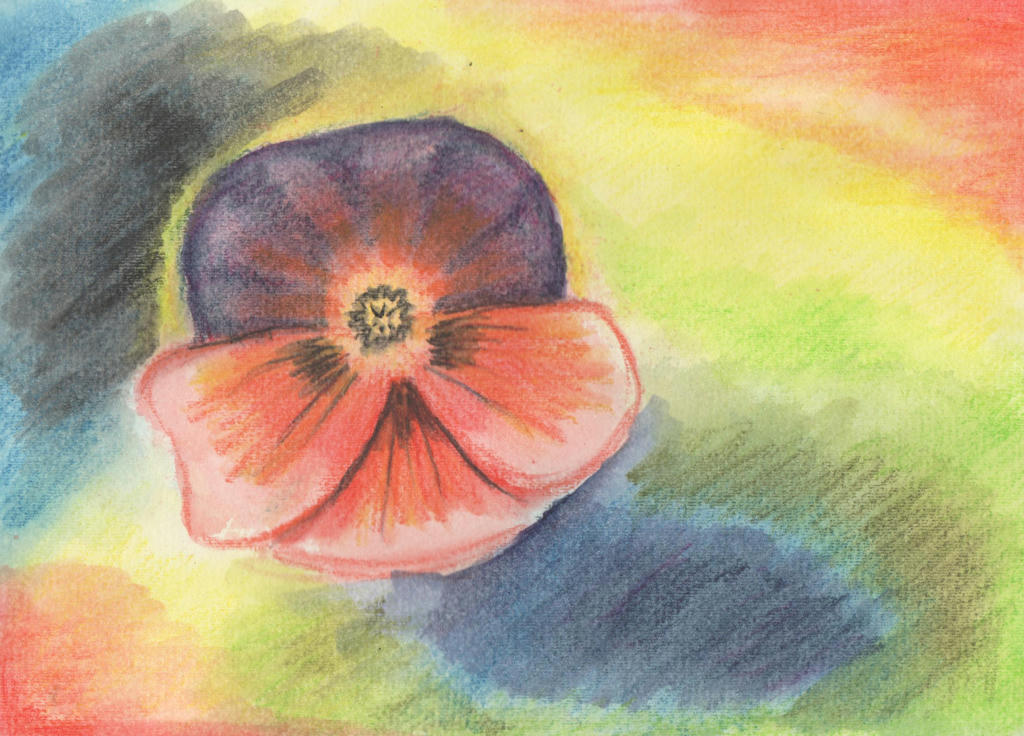
I went over the original washed Inktense pencils, with more Inktense pencil and activated it with my water brush. I lost all that lovely randomness though. Such a shame. I started to wonder if I should've just done the hibiscus instead?
This was all in the name of experimentation however, so I went in with another medium over the top - soft pastels. I attempted a random over-painting with my strokes, to create a sense of movement in the picture.
Definitely not a masterpiece but the learning process was appreciated. Even if I don't like the final product, I do like the random strokes and can see how it contributes to movement - instead of just a pansy plonked on the page. You've got to try these new ideas out and rather than throw them in the bin, I can share my experience instead.
Perhaps it will inspire someone to try something different? It doesn't have to be perfect, just tried!
It was also good to test my water spritzer out, to see if it has a place in my kit. Like everything, it needs more practice, but its a quick way to get water on the page nonetheless. There's a video tutorial demonstrating the spritzer, using Artbar and Inktense blocks. I only have the pencils though.
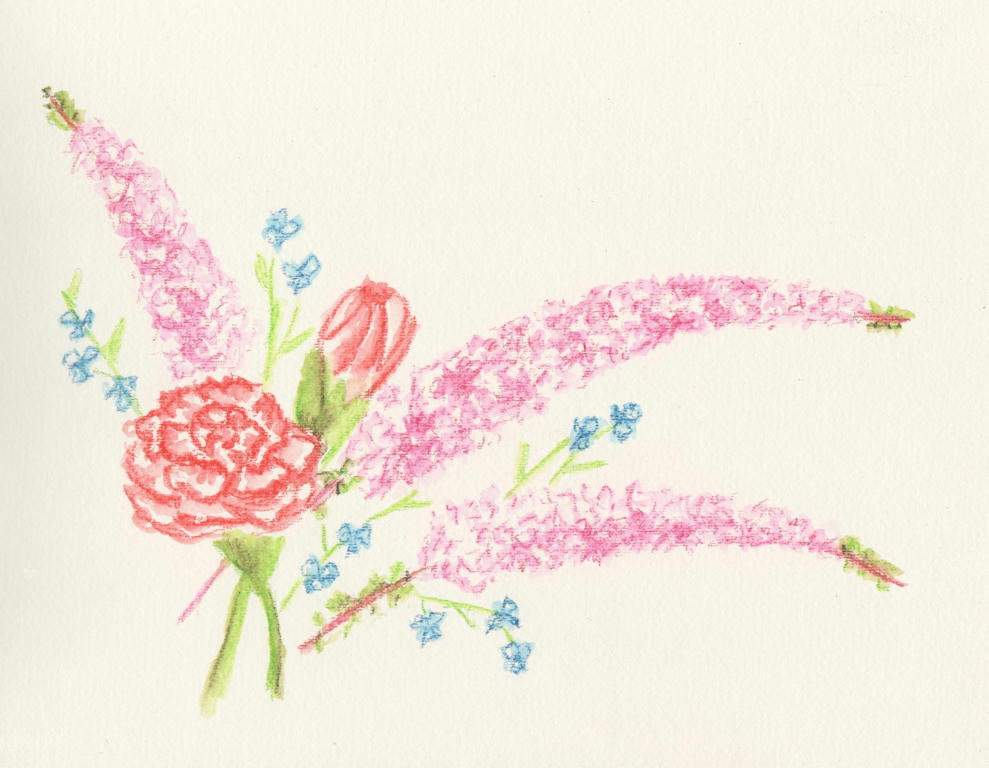
So it was our 12 year wedding anniversary this week (17 years together) and Dave gave me a delicate bouquet of flowers to celebrate. They were wonderfully received, but before they started withering, as all cut flowers eventually do, I thought to capture them in ink.
Intense pencils to be precise. I'm not sure what the long sprays of pink flowers are, but I do know the rest are red-tipped carnations and some blue wandering jew from our garden. I added them in to get a nice contrast in flower size and colour.
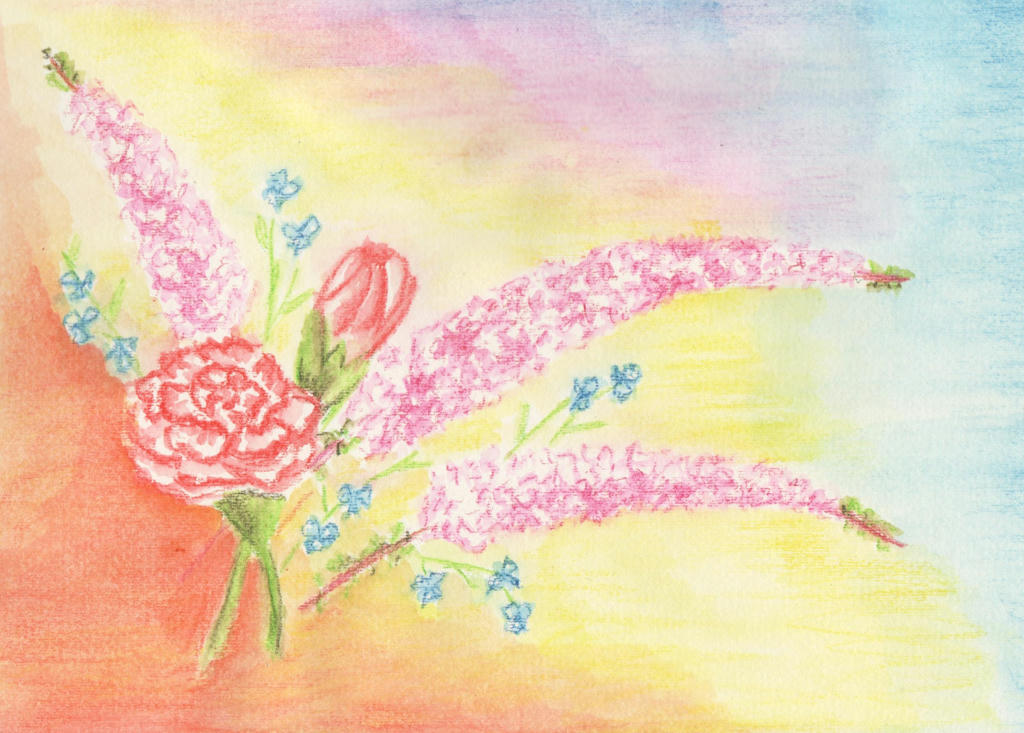
I liked it, but then I also thought it was a little boring too. After reading this article (its really good) about painting flowers, I decided to tackle the negative space in the background. And here's what happened...
I ruined it. Inktense pencils are great for fine detailed work, but terrible for large areas. It dries really quickly, and by the time you get your brush loaded with water again (I used my new water brush) it starts to dry and you can't blend it back together, like you can with watercolour pencils. So the background looked splotchy.
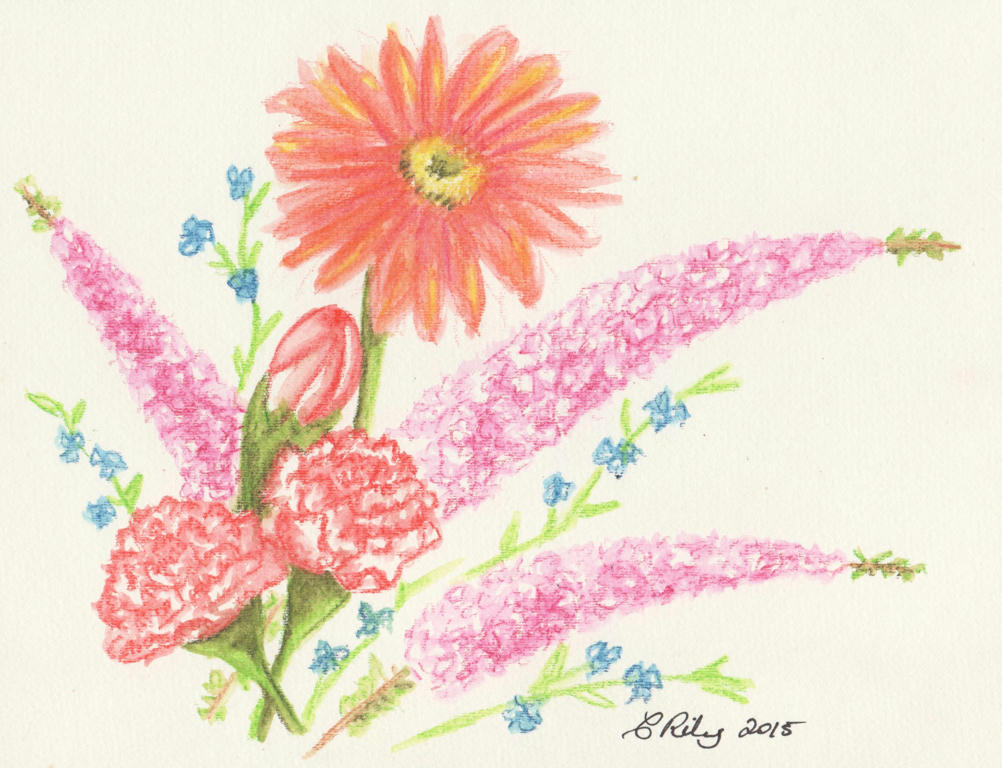
I decided to tackle the picture again. It was going to be a reminder of our wedding anniversary, after all. This time however, I was going to stick with the Inktense pencils for the detailed work, and tinker with the flower arrangement (per the article) to make better use of the negative spaces in the background.
I added an extra carnation (the magic of threes) and held my breathe while adding the big gerbera daisy, last. The daisy was in the bouquet my husband gave me, but they were red (like the red-tipped carnations) and I didn't want to drown the picture in reds. I liked the tangerine in the background I used before , so added it to the gerbra instead.
I think the lone daisy complements the arrangement nicely. By keeping it simple and working on the flower arrangement, I doesn't need a fancy background.
I'm always on the lookout for videos which help me understand a medium better. I have my own way of using watercolour pencils, but always find it interesting to see how others do it too. If you're looking for a place to start with watercolour pencils, or perhaps want to pick up some new tips, this video is a good place to start.
Be inspired, but also remember to experiment your own way too.
I love my various sets of pencils - watercolour, charcoal and the humble graphite! But one thing I discovered is that my pencils don't like sharpeners very much.
Not. At. All.
This has been the case, ever since owning my first pencils at primary school. My greatest irritation was having one side of the pencil perfectly sharpened, while another decided it would remain wood. It didn't matter how many times I put the pencil in the sharpener differently, that one irritating section of wood, wouldn't go down!
So I'd end up with a point I could use, but would inevitably snap within the pencil shaft, because the wood didn't support the lead, evenly, all the way around. The lead would pop out again - leaving me with no alternative but to battle with the sharpener once more. Sharpen. Snap. Sharpen. Repeat. Have you ever experienced this particular dilemma?
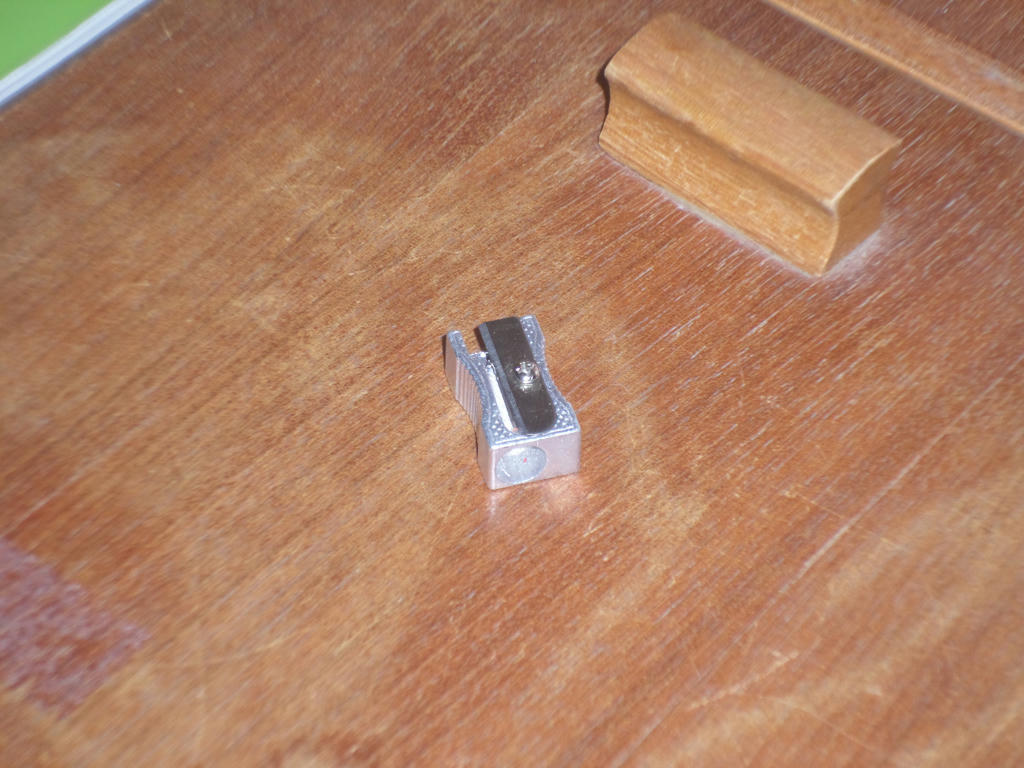
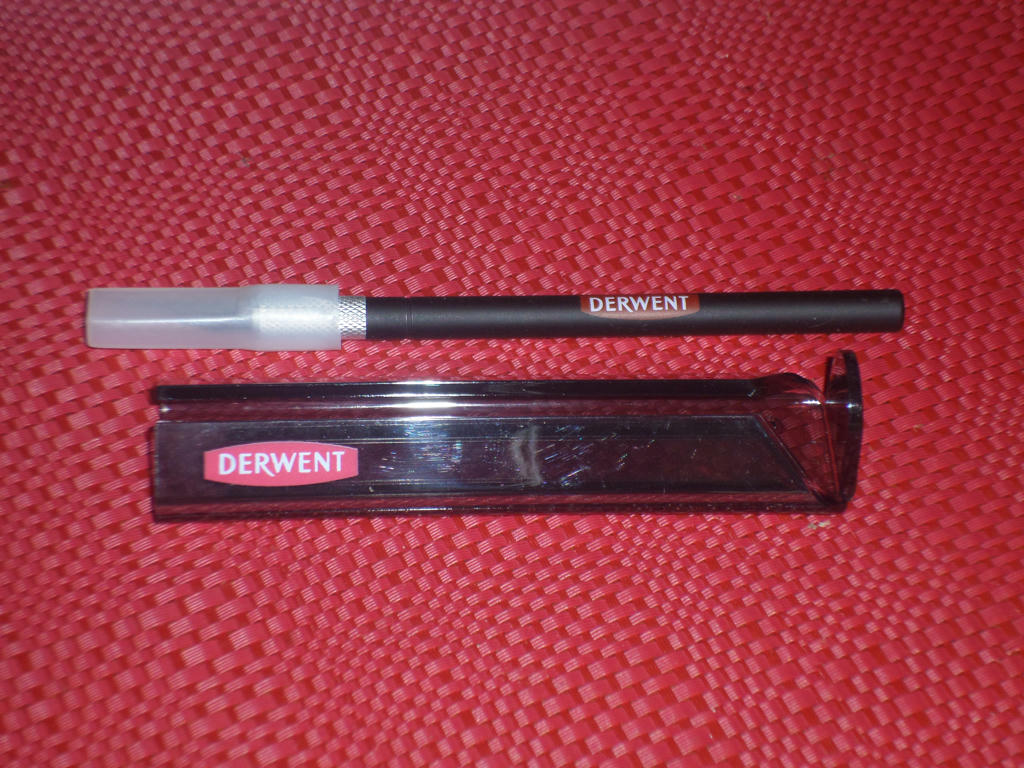
So someone (*cough* Derwent) invented something so simple, its much easier for me to get the best point on my pencils, time after time. It's called the Derwent sharpening stand. You can buy it separately, but it's most often sold with a craft knife.
I have yet to find another like it on the market, and I've been looking! If it appears I'm only plugging "Derwent", its because its the only one I've seen available commercially. And because of the Australia Day, public holiday recently, I had to wait four extra days for my stand to arrive in the post.
If you're interested, here's are a few places I've seen it being sold online in Australia:
Larry Post- stand and knife set Art Online - stand and knife set Artistic Den - stand only but free postage no matter how many items are purchased
I've bought items from all the places above, and found them to arrive in good condition, without any need to contact them back with complaints. I'm not paid to put up the links above, I just spent a lot of time looking for places I could buy art supplies from online and these ones I've had good experiences with,
So does the sharpening stand work or not? I'll let you be the judge with one of my Mont Marte charcoal pencils, not to be confused with my Derwent ones.
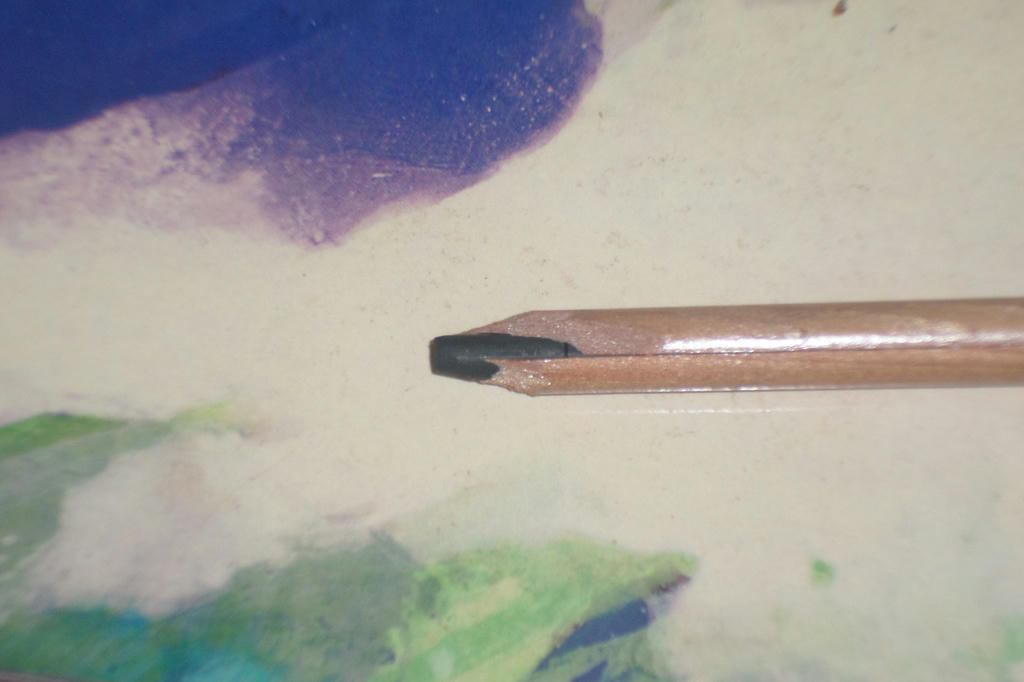
As a comparison, look at what my pencil sharpener did. You can see its cracked the lead inside the pencil, and when the wood resisted the sharpener, it also broke a large chunk of wood off and split it down the length of the pencil. I won't sharpen this one for this tutorial (its too damaged) but I'll use the white one in the upper image instead.
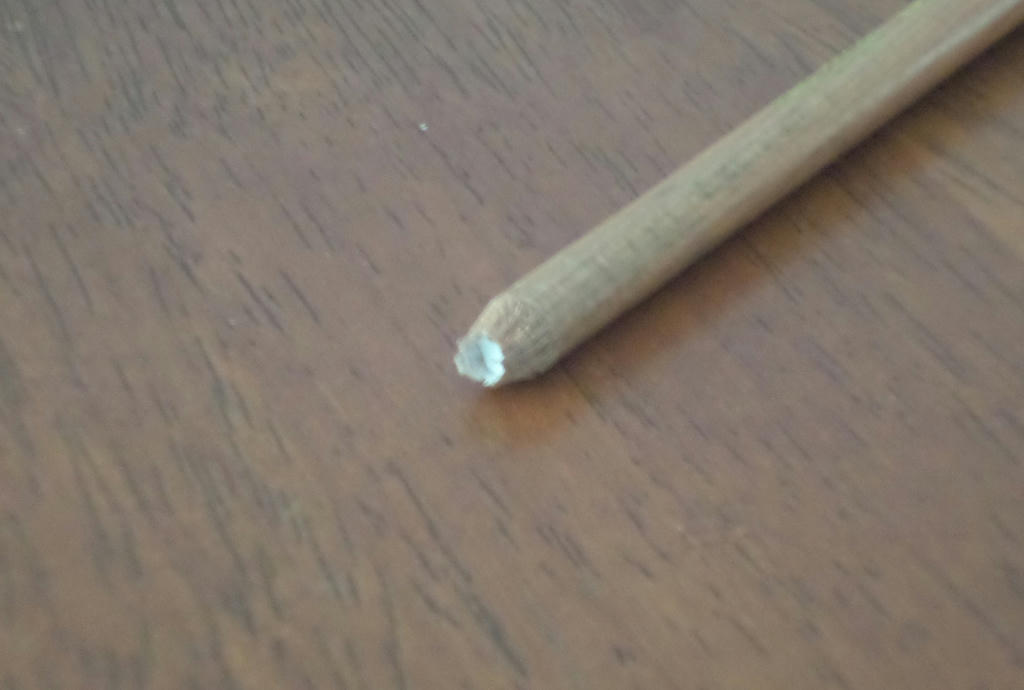
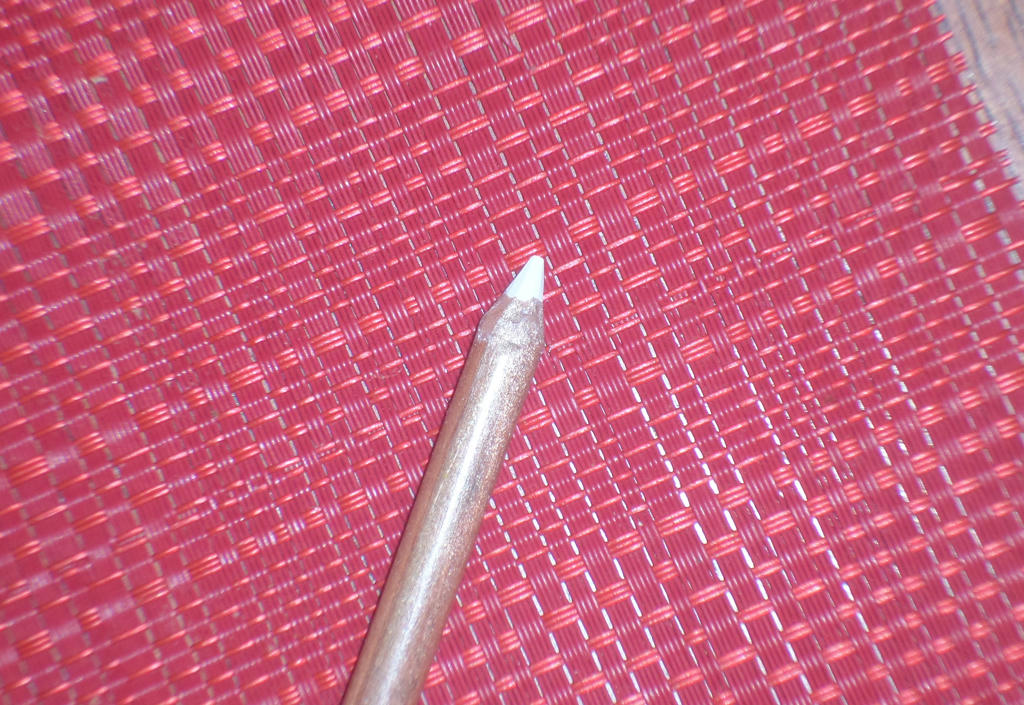
This is what it looked like after using the razor and sharpening stand. You need to be patient sharpening your pencils, its not achieved in twenty-seconds like you may be lucky doing with a sharpener. Because it gives more control, it only making the cuts which are necessary and is much kinder on the wood and lead. I used this rather roughly afterwards, with no snapping lead as I had experienced previously.
I tried sharpening my Mont Marte pencils with just a razor, but without the stand keeping the pencil at the perfect angle, allowing me to be gentler with my cuts - and the buffer to press the lead up against, I found the pressure placed on the lead just made it crack also. So the longevity of my pencils, even the cheapies, are much more inclined to go the distance with this new sharpening stand.
Here is a quick video tutorial if you wanted to see one in action too...
I hope this helps others with their sharpening dilemmas. I'm very happy to have far better control over the sharpening process, and thus being kinder on my pencils.
Even though it's summer growing season, I don't have a lot of things flowering except weeds. I decided to capture an image of one particular flower in season at the moment though. It's a well known favourite of the tropics - the frangipani. This is also one of the pictures I'm submitting for the February botanical challenge on The Daily Art Tattler.
This particular specimen I've written about on another blog. But briefly it was from a cutting of a friend of my mother. It was brought all the way from Thailand as a gift from her husband. Her name was Stella, so I am calling this picture "Stella". She sadly died of cancer but her memory still lives on.
This is also the first time I have worked with soft pastels. I didn't really like them at first - they were too gritty and the colour didn't want to stick to the paper. But I eventually got into a rhythm with smudging. Of the set of 50 I purchased (cheap) it came with no black or white. I could have really used the white.
I also had to introduce some of my charcoal tinted pencils, just to get into the nooks and crannies the pastels couldn't fit. I can see why people who work in pastels, also purchase the pastel pencils.
I actually want to hang this in the kitchen, but first I have to find a square frame!
I'm in the middle of a picture I hope to reveal tomorrow, but in the meantime I wanted to do a shout-out, to Food n Stuff, who has put up a new page on her blog.
It showcases some of her older work, but also gives a taste of what's still to come!
It's nerve-wracking, dusting off the cobwebs and getting back into art - but its also very worth it too. So hurrah to another artist, prepared to air their talent in a whole new way!
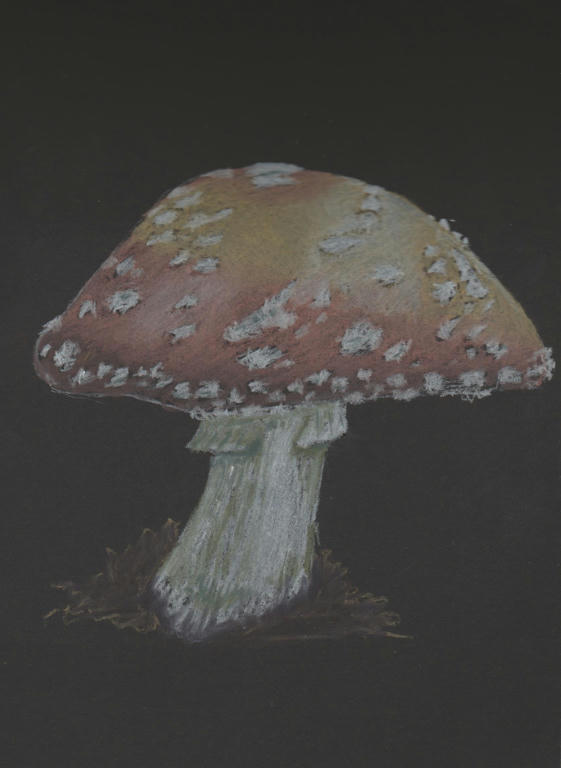
I'm not sure if its a mushroom or a toadstool, but I'm calling it a mushroom because it looks like one to me. The picture came from a free photo resource here. Always click on the image to make sure its free - it will say so!
This was done in my new tinted charcoal pencils (Derwent) and small black pad. It was a lot of fun and the pencils, easy to work with. Charcoal always blends so well.